By Thomas McKenna
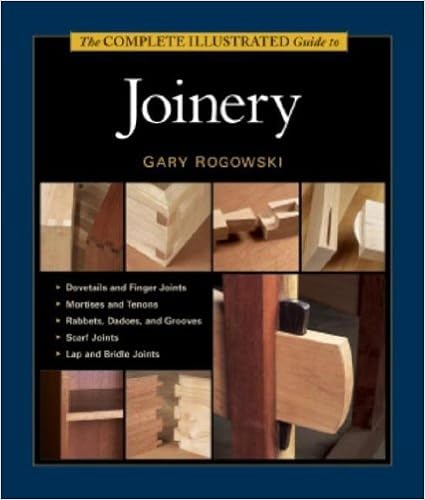
Joinery - the whole advisor to Woodworking Joinery
Read Online or Download Joinery - The Complete Guide to Woodworking Joinery PDF
Best woodworking books


The Southwestern component of this enjoyable trend publication contains a gecko welcome peg rack, adobe bookends, cactus shelf, coyote swap plate conceal, and extra.
Discovering a wood worker who does caliber work—at a cheap expense and in a well timed fashion—can be a true problem. For little jobs you could spend extra time looking for a wood worker than you'll doing the task your self, in the event you purely had a few simple instruments and carpentry talents. through the years, the power to deal with small carpentry jobs can prevent loads of cash.
* * INSCRIBED AND SIGNED via the writer ON name web page * * gentle conceal with plastic comb binding, illustrated with b/w pictures and drawings, a hundred pages. third revision. disguise has mild put on to edges - often to tips of corners and frivolously dirty. textual content is unmarked. pictures to be had. USPS affirmation used on all U.
Extra info for Joinery - The Complete Guide to Woodworking Joinery
Sample text
You can stick with your normal combination blade; a clean one cuts better. For wider notches in wood, whether rabbets, dadoes, grooves, tenons, or lap joints, I use an 8-in. stack dado set. Quality is very important here. You need a high-quality set that cuts clean edges and flat bottoms. A dado set’s inside and outside blades have angled teeth designed to eliminate tearout at the edges of the cut. -wide dadoes. Thin shims go in to fine-tune the width, if necessary. Be aware that dado sets take big cuts and can cause underpowered saws to bog down, and that the shorter arbors on some portable saws won’t allow the full stack to be used.
Dunton USE THE TAPE TRICK FOR EASY ASSEMBLY Tape the sections. With the inside of the carcase face down, stretch masking tape across the joints to draw them together. A straightedge at the top aligns the sections. Assemble the carcase. With the base or back installed, roll up the sections and tape closed the remaining corner. Stand the piece on a flat surface and check for squareness. Flip the boards over. To turn over the sections together, clamp a strip of wood on each side of the top edge. Glue the miters.
Apply a strip of tape to join the four parts together. I prefer clear packaging tape, as it gets a good grip and allows me to see how the corners fit. With the tape in place, acting like a hinge, you can temporarily assemble the sides, top, and bottom to form the box and make sure everything looks OK. Reopen the box, and start assembly by spreading glue (I use yellow glue) on the mitered surfaces. Miters absorb a lot of glue, so apply an even coat to both sides of the joint. Now it’s just a matter of rolling the taped sides around the top and bottom.