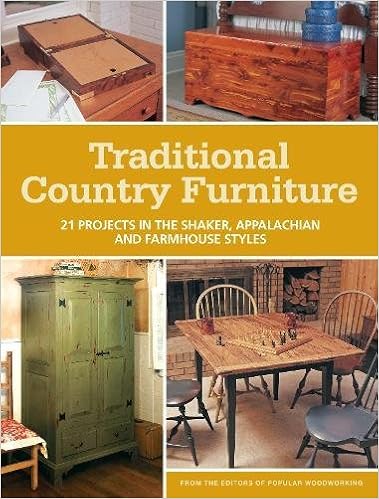
By The Editors of Woodworking Magazine and Oxmoor House
This sequence supplies even more than different woodworking undertaking books. You get the main entire plans at any place, plus specified layout, fabrics and joinery suggestions to suit your person wishes.
Read Online or Download Traditional Furniture PDF
Similar woodworking books

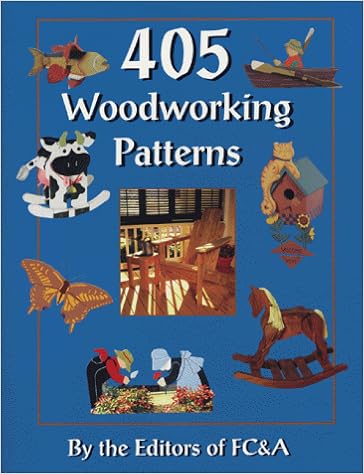
The Southwestern part of this enjoyable trend ebook features a gecko welcome peg rack, adobe bookends, cactus shelf, coyote swap plate conceal, and extra.
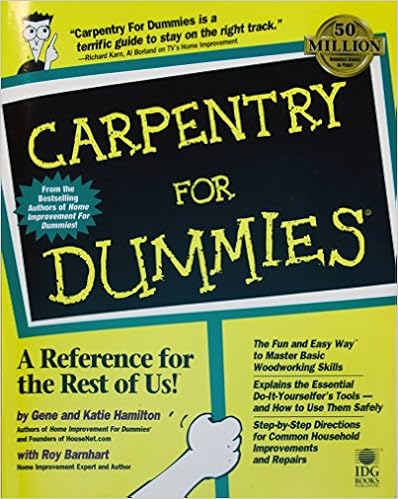
Discovering a chippie who does caliber work—at an inexpensive rate and in a well timed fashion—can be a true problem. For little jobs you could spend extra time trying to find a chippie than you'll doing the activity your self, should you purely had a few easy instruments and carpentry talents. through the years, the power to deal with small carpentry jobs can prevent loads of cash.
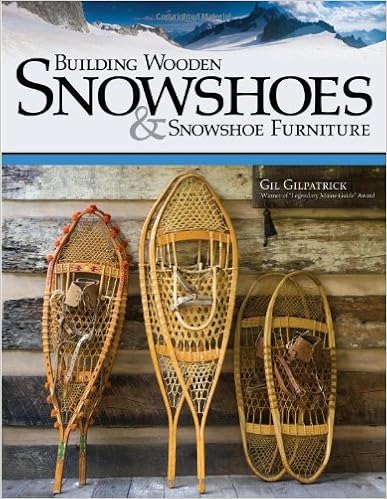
* * INSCRIBED AND SIGNED by means of the writer ON name web page * * delicate hide with plastic comb binding, illustrated with b/w pictures and drawings, a hundred pages. third revision. hide has gentle put on to edges - regularly to assistance of corners and calmly dirty. textual content is unmarked. photos to be had. USPS affirmation used on all U.
- Woodcarving: Tools, Material & Equipment, Volume 1
- Designing and Building Chairs: The New Best of Fine Woodworking
- The Seven Essentials of Woodworking
- Wildlife Designs: Original Patterns for Your Favorite Craft
Extra resources for Traditional Furniture
Example text
GLUING AN OCTAGON. When cutting miters of an eight-sided frame, there'S always a good chance for errorEach of the pieces requires two miters total of sixteen (one for each end) for ¼°, the cuts. If the miter gauge is off just combined gap would be about ¼" when the pieces are assembled (Fig. 5). HALF FRAMEs. The trick to creating tight joints at each miter involves assembling two "half frames," then cutting the ends of each to fit together tightly. and sides 30° ¯12½ (B), is· 22½° MITER 22½ a 15° MITER s a SIDES T ACCESSORIES OM EACH FACE SPLINE (Vs"-THICK PIECE HARDBOARD) c 2½ vs 4 ' How ' tight should a spline be?
5). After that, three horizontal web frames are added to form the drawer openings. MAKE PANELS. The first thing to do is to glue up blanks for the side (B) and back panels (C) from ¾"-thick pieces of stock (Fig. 5). Then the panels can be cut to size (Figs. 5a and 5b). CUT TENONs. Next, two tenons can be cut on each end of the panels to fit into the mortises you cut in the legs. This is easier than it sounds. I simply cut one long tenon with ¼" shoulders did this just like on the top and bottom.
With the long edges of the blank flush, you can trim the ends of the drawer front quickly using the miter gauge and an auxiliary fence. CUT CURVES. Now that the front has been trimmed, it's time to create the curves on the inside and outside faces by cutting away most of the blank. Tosmooththecurves, a little elbow grease, sanding the used pieces hand. But I did find a simple make a curved sanding block that made the job easier (see the Shop Tip at right). GROOVE FOR BOTTOM. With the drawer front smooth, grooves can be cut on allthe pieces for the ¼" plywood bottom.