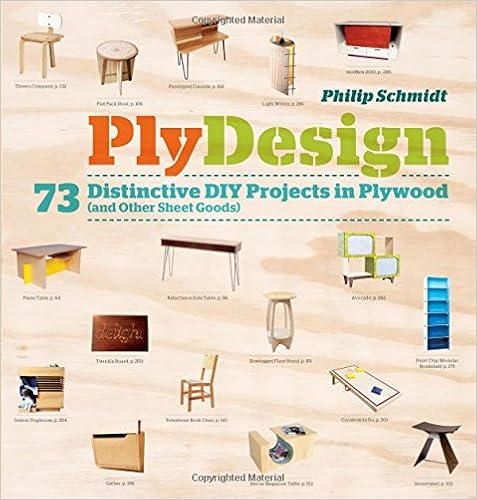
By Philip Schmidt
PlyDesign provides seventy three rules for smooth, clever domestic furniture that you should make from off-the-shelf sheet fabrics utilizing basically simple hand and gear instruments. With designs contributed via greater than 50 inventive developers throughout North the USA, the initiatives comprise tables, stools, workstations, benches, computer stands, cabinets, artwork panels, organizers, headboards, doghouses, dollhouses, and extra. a photograph of every complete undertaking is followed via a listing of wanted instruments and fabrics, slicing and meeting diagrams, and transparent step by step directions.
Read Online or Download PlyDesign: 73 Distinctive DIY Projects in Plywood (and other sheet goods) PDF
Best woodworking books

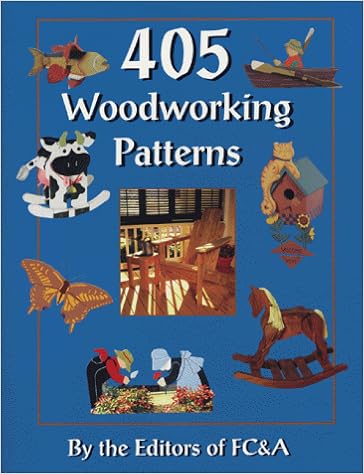
The Southwestern portion of this enjoyable trend booklet incorporates a gecko welcome peg rack, adobe bookends, cactus shelf, coyote swap plate conceal, and extra.
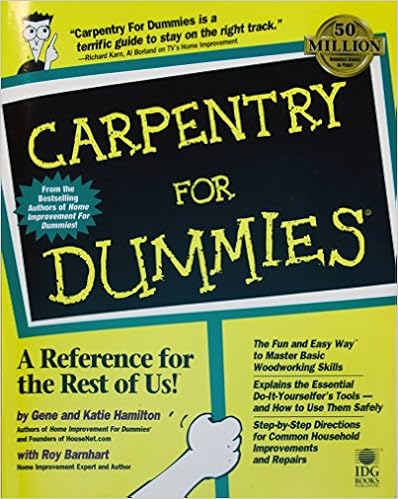
Discovering a chippie who does caliber work—at an inexpensive expense and in a well timed fashion—can be a true problem. For little jobs you could spend extra time trying to find a chippie than you will doing the task your self, in the event you in simple terms had a few easy instruments and carpentry talents. through the years, the power to deal with small carpentry jobs can prevent loads of funds.
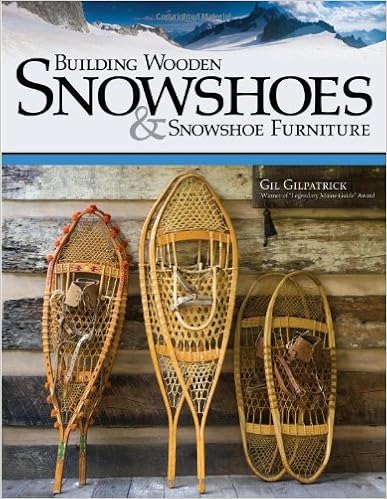
* * INSCRIBED AND SIGNED through the writer ON identify web page * * delicate conceal with plastic comb binding, illustrated with b/w images and drawings, a hundred pages. third revision. hide has mild put on to edges - usually to assistance of corners and calmly dirty. textual content is unmarked. pictures on hand. USPS affirmation used on all U.
- Handplane Essentials
- American Woodworking Tools
- Tauntons Complete Illustrated Guide To Turning
- Shop-Made Jigs and Fixtures (Art of Woodworking)
- Turning Wood with Richard Raffan
Extra info for PlyDesign: 73 Distinctive DIY Projects in Plywood (and other sheet goods)
Example text
Mark the rounded corners on parts B, I, and L with a 2" radius, and make the cuts with a jigsaw (see How to Mark & Cut Curves, page 16). To save material, you can cut piece M from the cut-out center of piece I. Note: If you plan to cover parts M and/or L with vinyl (see step 6), cut the parts slightly smaller to account for the thickness of your vinyl cloth. If you won’t cover M with vinyl, drill two ¾"-diameter finger holes through the piece, as shown in the cutting diagram, using a ¾" spade bit and a backerboard to prevent tearout on the bottom face.
Measure up 10" from each of these lines and draw two more lines on the leg’s inside face. The top lines of each pair represent the top faces of the shelves when installed; the bottom lines are for locating screws. Measuring in from the rear edge of the leg, mark the lower lines at 3" and 6". Stack the legs back-to-back, with the marked leg on top, and clamp the pieces down to a backerboard. Make sure all outer edges are aligned. Drill a ⅛" pilot hole through both legs at each mark. Unclamp the legs, flip them both outside-face up, and countersink the holes on the outside faces to a maximum depth of 5⁄16", using a pilot-countersink bit.
Stand one leg up, and line up one shelf against the leg’s face. Drive drywall screws through the two pilot holes, turning each just until the head prevents it from going any deeper. Be careful not to torque these screws, as they can easily strip in the edges of the shelves. Repeat to fasten the other shelf to the same leg. Then fasten the remaining leg to both shelves in the same manner. The legs, post, and shelves are now one unit. 9. Install the L-angle. Cut the 30" piece of L-angle into four equal pieces, using a hacksaw or reciprocating saw.